Loading...
-
-
-
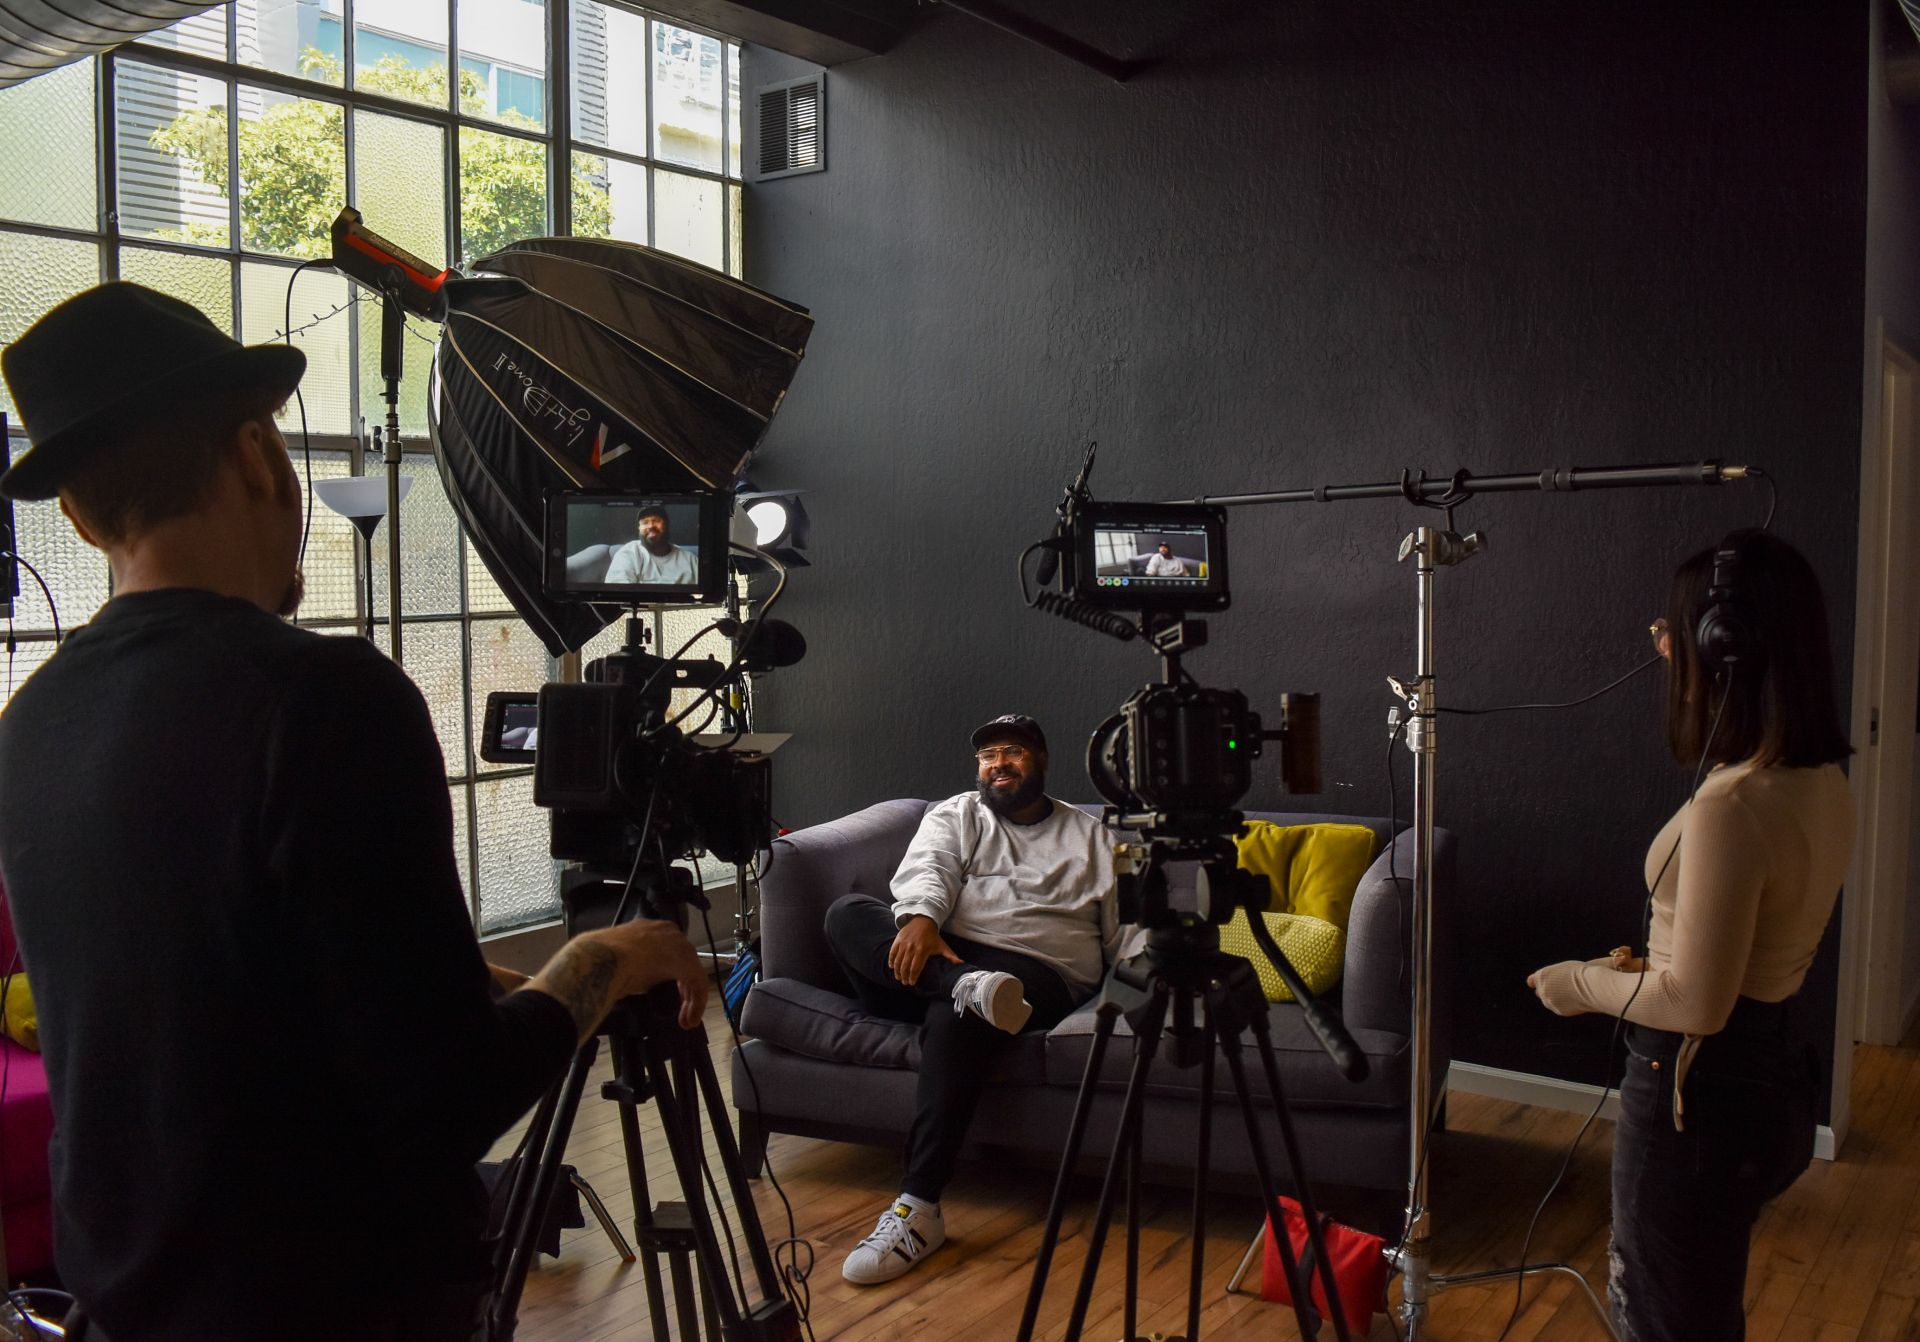
Reel Stories: Summer camp enrollment live!
Filmmaking camps for girls and gender expansive youth
-
Study: Mapping the Magnetic Media Landscape
We want to hear from AV preservationists and archivists
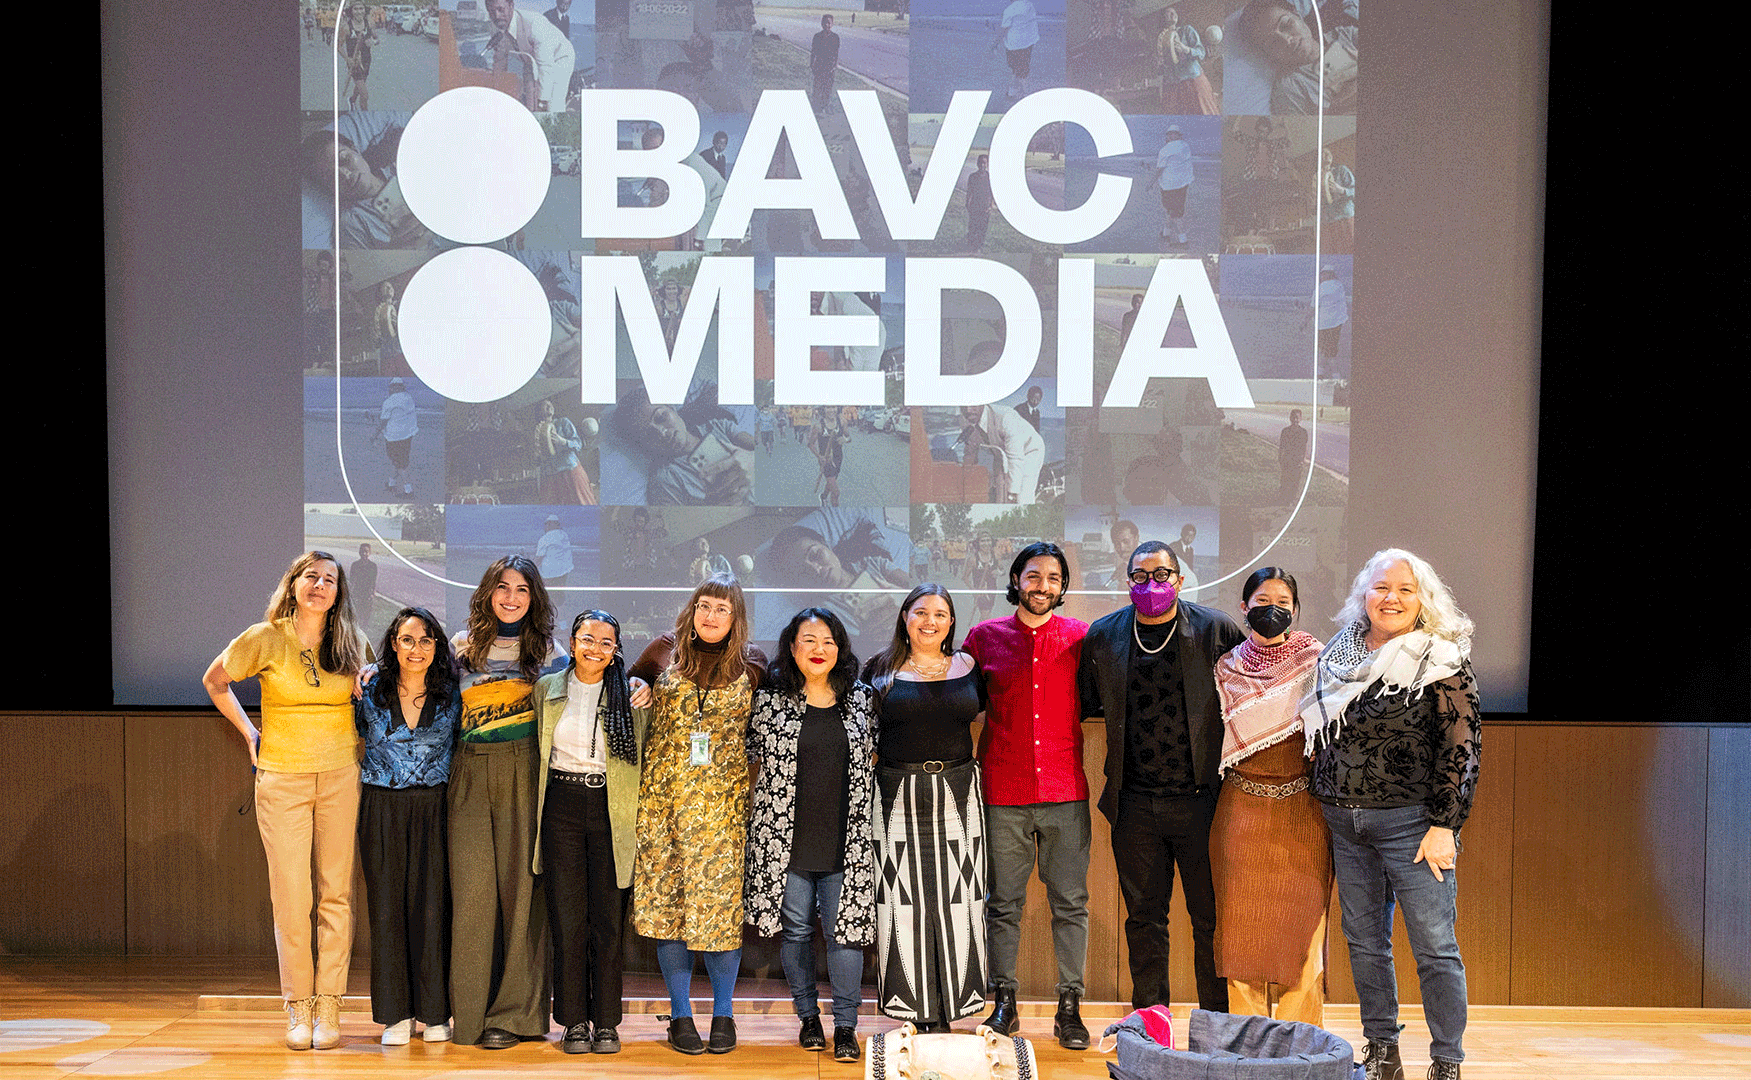
BAVC Media (Bay Area Video Coalition) is about video and a whole lot more.
We are an evolving coalition of passionate creators, activists, independent makers of all mediums and everyday people, effecting change one story at a time.